
SMT vs THT PCB Assembly: Which Does Your Board Need?
Surface-mount or through-hole? A practical comparison of both assembly methods and when to use each.
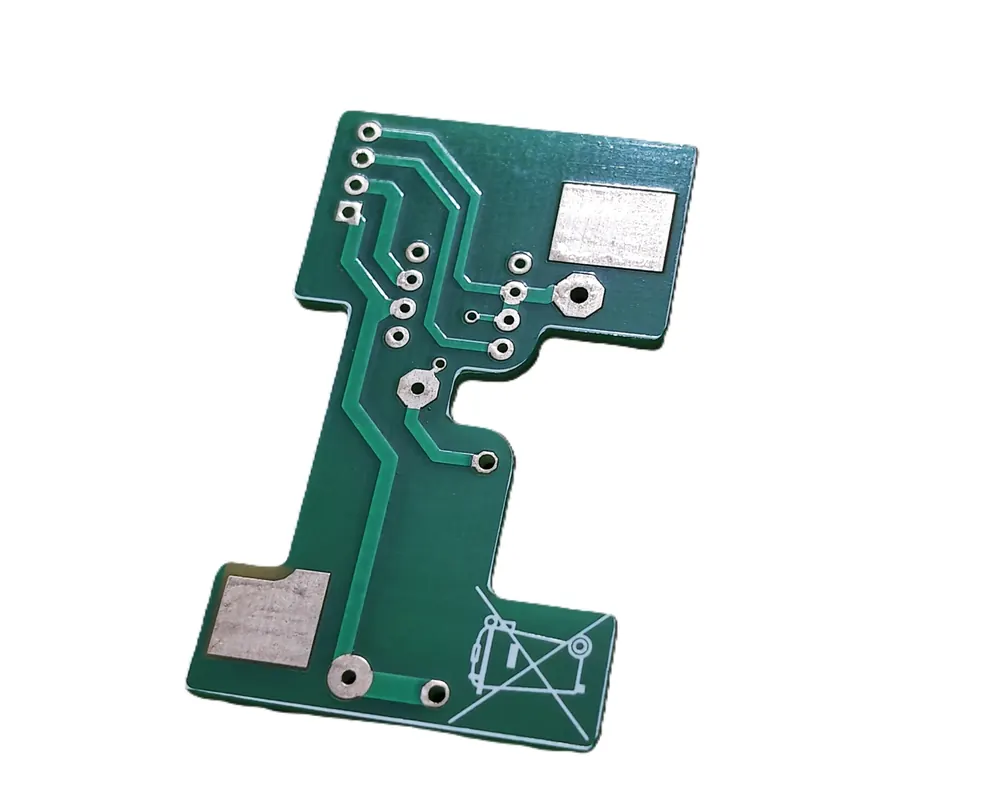
A PCB prototype is your first chance to find out whether the design works in the real world. Teams that follow a clear sequence reach a working prototype faster and spend less on respins. Here is a practical path from idea to tested board.
Write down what the product must do: functions, inputs and outputs, power source, size limits, operating environment and target cost. These decisions drive every later choice, from the microcontroller to the board size.
Select the main parts first, such as the microcontroller or wireless module, sensors and power circuitry. Check availability and lead time before committing, because a part that cannot be bought will stall the whole project.
Place components with signal paths, power delivery, heat and connectors in mind. For fast or sensitive signals, plan controlled impedance and clean return paths from the start. Include test points and programming headers for bring-up.
Before ordering boards, check the design against manufacturing limits. Use our DFM checklist or ask your manufacturer for a review.
Order a small quantity of bare boards. Ordering a few more than you think you need is cheap insurance, since it is common to damage a board during first power-up or rework. For details on board types, see our PCB fabrication service.
Populate the boards with the components. Small prototype runs can be assembled by a service partner so that fine-pitch parts and BGAs are soldered reliably. See PCB assembly and the files you need.
Power the board carefully, ideally from a current-limited supply, and check each power rail before connecting everything. Then verify clocks, communication interfaces and sensors one by one, and load your firmware. Record what you find so the next revision fixes it.
Test the board with its enclosure, connectors and cables. Early 3D-printed or machined parts can reveal fit problems cheaply. Our rapid prototyping service covers electronics together with mechanical parts.
Most products need more than one revision. Once the design is stable, move to a small pilot batch to test assembly yield and supply of components before going to full production.
If you are building a connected device, see how our IoT and embedded team approaches hardware, firmware and connectivity together.
Surface-mount or through-hole? A practical comparison of both assembly methods and when to use each.
Twelve practical checks that prevent fabrication queries, assembly problems and costly respins.
What to send for a fast, accurate PCBA quote and the mistakes that cause delays.
Tell us about your PCB, IoT or electronics project. Our engineering team will review your requirement and reply within 1 business day.